

1. In order to set up this display in your shop you first need to gather a number of suitcases. Preferably at least some should be hard sided because they are easier to stack. If you don’t have any, they can be inexpensively purchased from a thrift shop or GoodwillI. Try to get mostly the same color. I used all black with just one other color for a punch. Assess the items you want to display and choose colors accordingly.
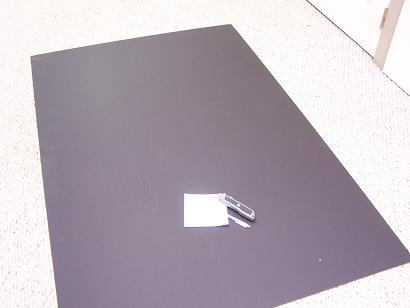
2. Besides suitcases you will need a piece of black foam board “42 x “52. Which you can buy at a frame store or Michaels craft store. Hot glue gun, X-Acto knife, masking tape, pencil, paper, chalk, fishing line. And spray paint in the color you want to make your suitcases. Be sure to purchase spray paint that adheres to plastic.
3. In order to paint the suitcase be sure to first use masking tape and carefully tape around everything you don’t want painted. Lay down a drop cloth to catch over spray. Spray a number of thin coats to avoid runs in your paint. I needed to do 3 light coats.
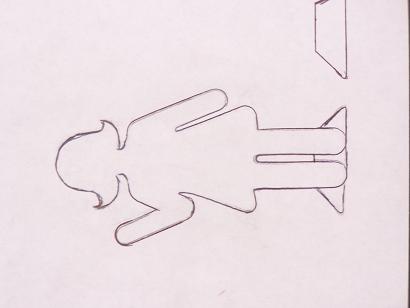
4. Now it’s time to make your “paperdoll”. In order to make your “doll” practice drawing her out on paper first.
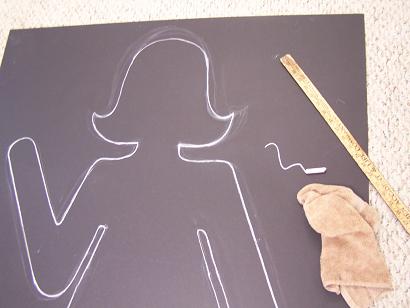
5. Now transfer the picture to your piece of foam board enlarging her to the size you want for your display. Using white chalk makes it easy to see and easy to wipe off with a damp cloth and redraw until your “doll” looks just like you want. My large doll ended up being much thinner than my original drawing. (If you have access to an overhead or opaque projector, perhaps from your public library, this can be easier and quicker. The projector will allow you to use your small image and project it much larger unto your foam.) Be sure to draw two stand pieces also, so that your “doll” can stand on her own. Stand pieces should be about 5 inches high and 20 inches long.

6. Using an X-Acto knife or utility blade carefully cut out your “doll” and stand.
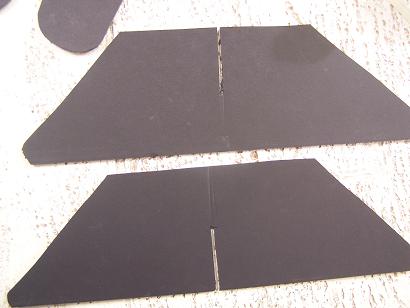
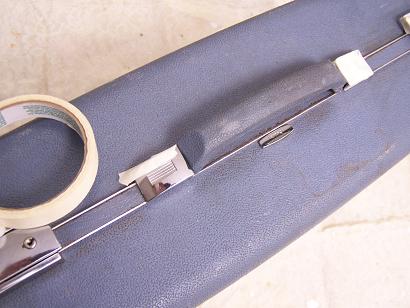
7. Make sure to cut a slit from the top down on one stand piece and the bottom up on the other stand piece. The slit should be as wide as your foam board. This will allow the pieces to slide together and create your stand. DO NOT GLUE STAND TOGETHER. It will stay together on its own and when you are finished you can slide off one piece and you will be able to store your “doll” flat.
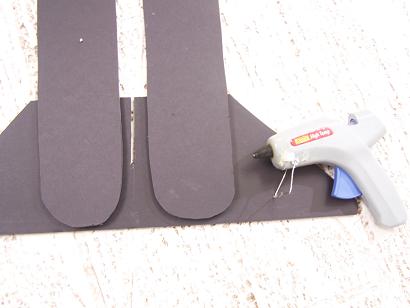
8. Use the glue gun to glue one piece of the stand to the “doll’s” legs. Now without glue slide on the other piece and she will stand up!
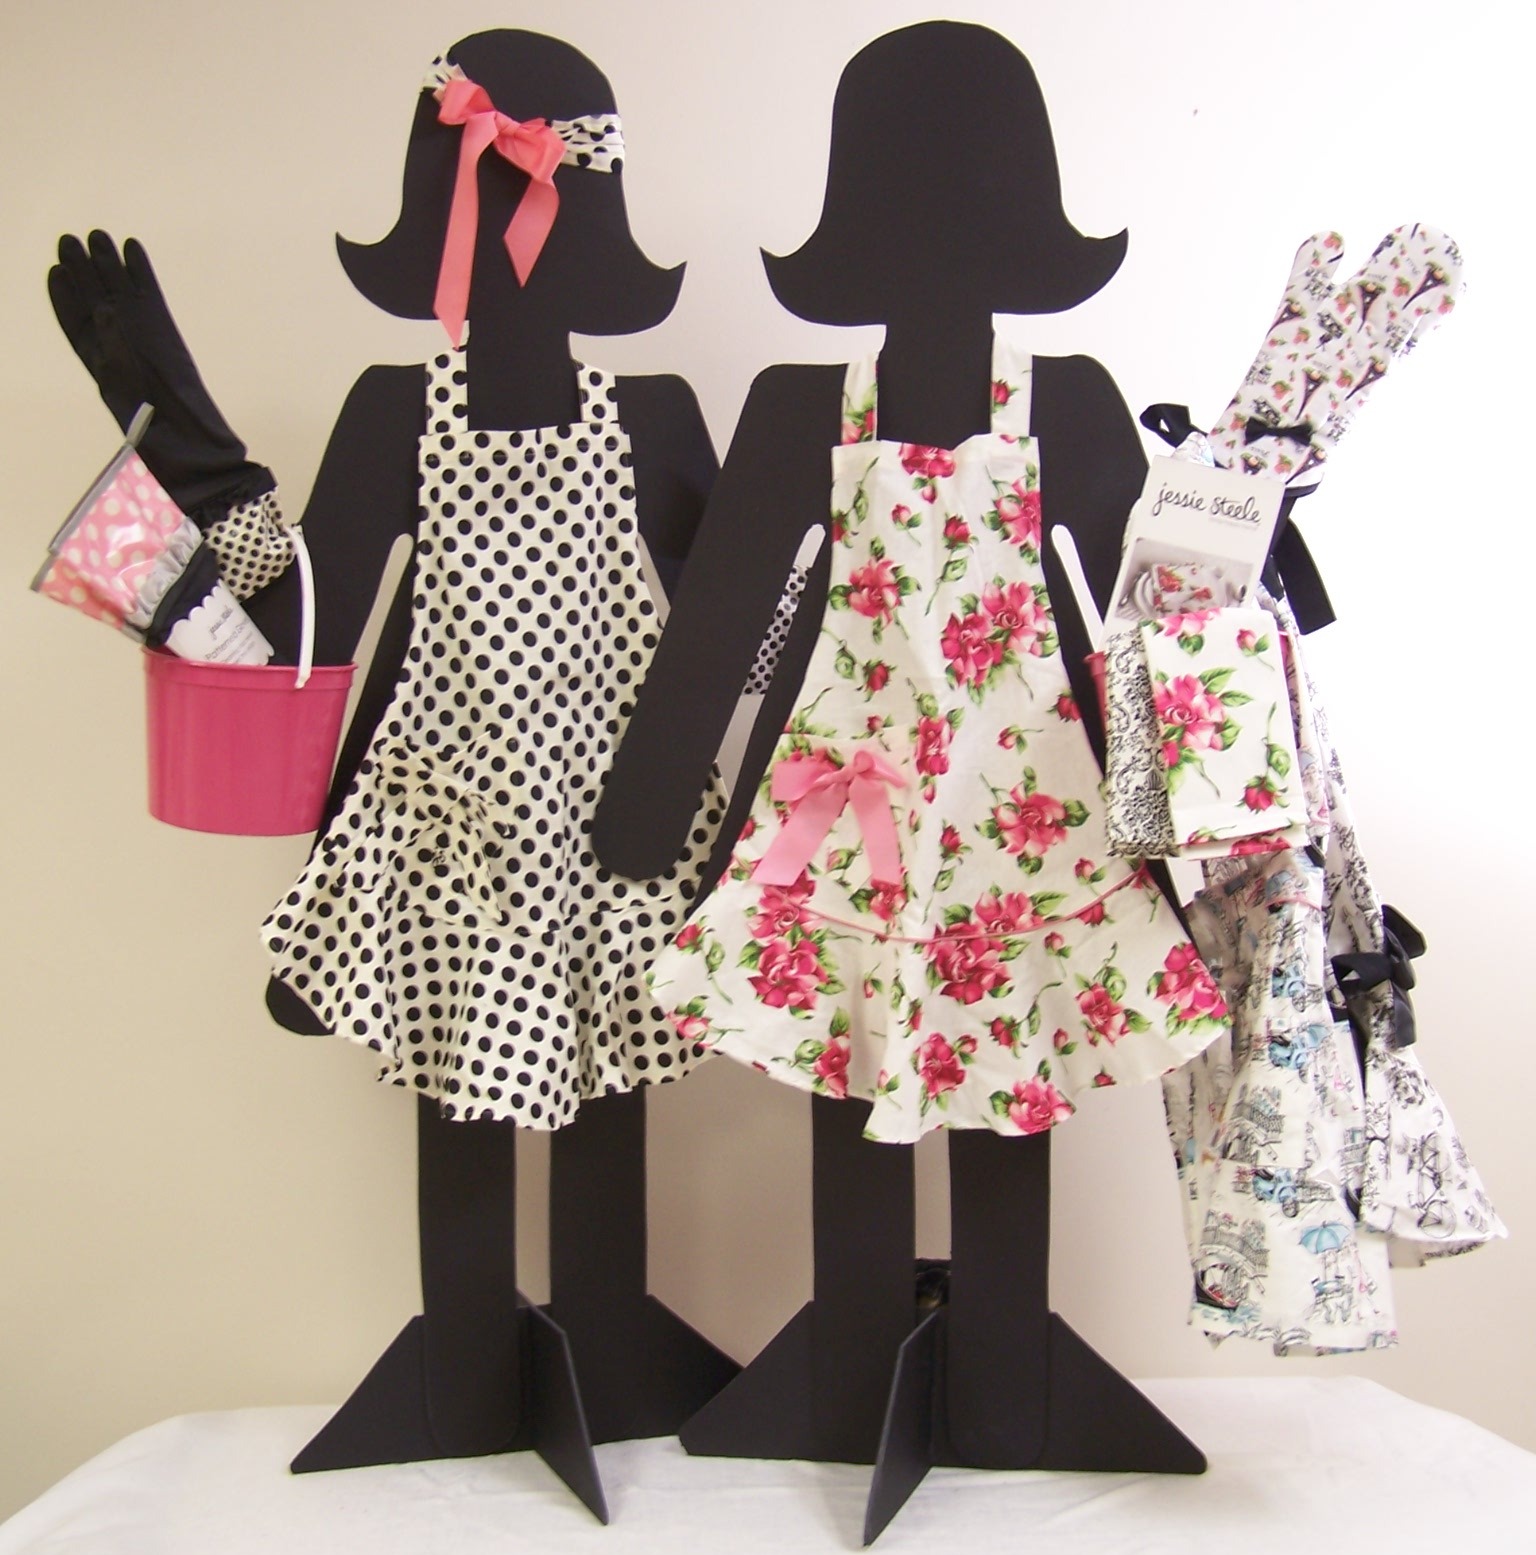
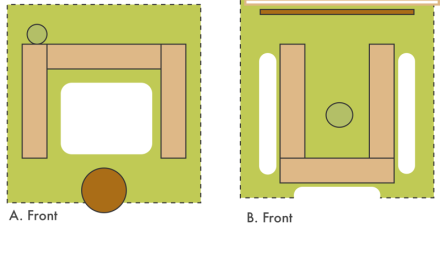
9. Set up your display. Layer the suitcases. Some open, some shut, all depending on what you have to display and what your suitcases look like. Position your “doll” in a good location and display some of your product on the “doll”. If you aren’t selling anything to put on her, just add a hat or articles of clothing that work well with your products. If you want to have your doll hold an item fishing line works well because its strong and is almost invisible.
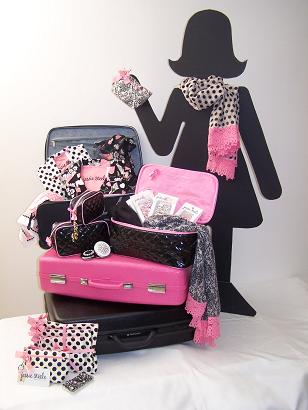
10. I chose to have my doll carry a purse. I used a rubber band to hold the purse in place on her hand then looped the fishing line around 3 times and tied it off. Remove the rubber band when you are finished.

11. In the second display I purposely made a “doll” with one hand up and one arm extended so she could hold more items. I also used coordinating buckets (plastic ice cream pails I sprayed with the rest of the can of paint) that I could put merchandise in.
Display costs
Suitcases $0 if you already have some $15-$20 at thrift store.
Spray paint (that adheres to plastic) $4.50
Foam board $22 (Smaller foam board is less expensive.)


