
By Rick Segel
Retail Business Kit for Dummies
Visual merchandising is the art and science of presenting the products you sell in the most attractive way possible, in order to generate traffic, create interest and buzz—and of course, generate sales!
Many retailers struggle with visual merchandising. After all, we’re retailers, not artists or designers! Luckily, this is one area where you can improve quickly without having to spend a ton of time or money.
Below, you’ll find a dozen tips, hints and strategies you can use to improve your store’s visual merchandising today. These range from the simple and obvious—because the simple and obvious is often also overlooked!—to those a bit more creative. Give them a try, and see how well your customers react to the new displays!
1. Take It Outside
If the weather’s good and you’re allowed to do so, set up a display of merchandise outside your store. This can create a sense of excitement and buzz: consider a “Street Faire” environment, with flags and balloons.
2. Identify Everything
Customers are in a hurry. Use signage to identify not only departments, but categories. This will help customers pinpoint what they need and inspire additional purchases.
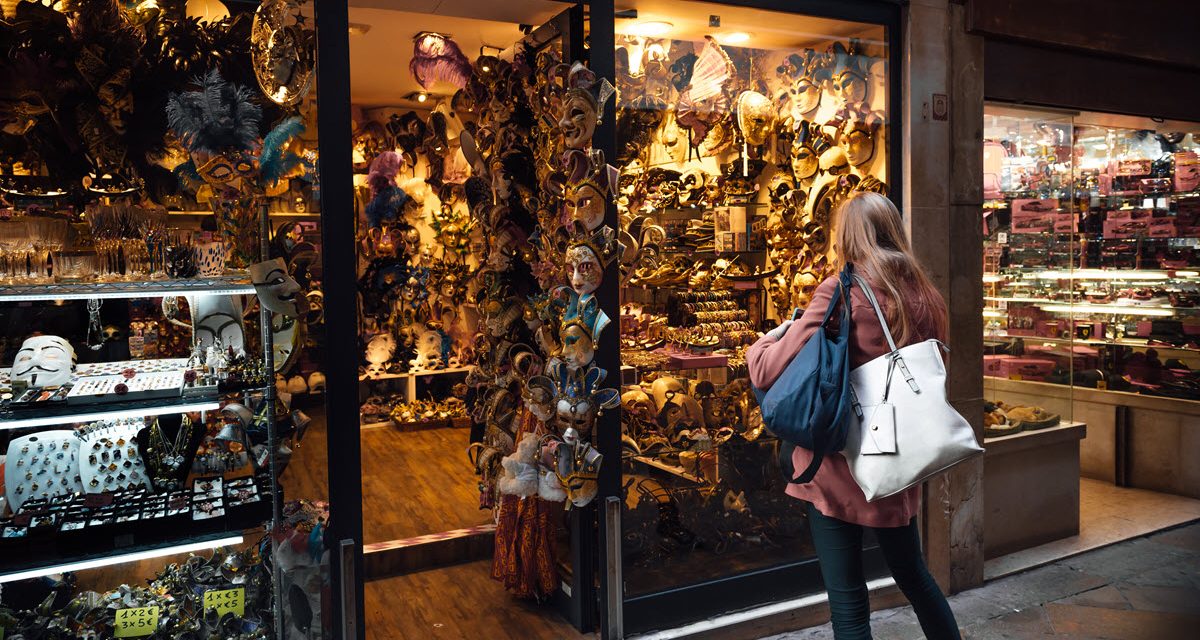
3. Set the Mood with Your Windows
Store windows are incredibly valuable merchandising territory: use them to set the mood of the event or sale you’re having. This mood should match the mood your customers want to experience after buying from you: do they want excitement, family fun, romance?
4. Embrace All the Senses
Great merchandising appeals to more than the eyes. Consider how your store sounds, smells and even feels. Are all of these “messages” you’re sending with music, scents, and other environmental factors in keeping with the displays you create? You can evoke senses without addressing them directly. For example, putting a pair of red bowls and spoons with a display of tomato soup can get mouths watering!
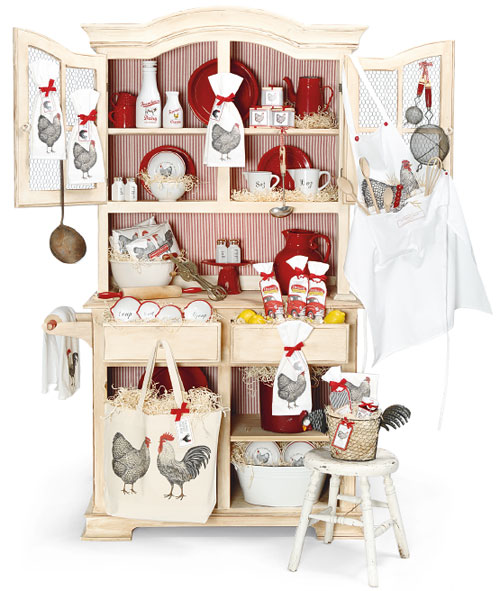
5. Show Them How It Will Look at Home
Use your displays to show customers how the merchandise will look in their home. If you’re selling furniture, set up a grouping of chairs; jewelry presented in the gift box, perhaps with some curls of ribbon still clinging to the box; a row of pans hanging neatly, copper bottoms gleaming. Many customers can’t envision merchandise “in application.” When they see a pan in a box, for example, they see a pan in a box. But put that same pan on a faux stovetop, with a cheerful checkered potholder and a pair of wineglasses nearby with a stack of cookbooks , and suddenly that pan is something more: it’s a potential romantic dinner for two, just waiting to be whipped up.
6. Group Like with Like
Organize your store logically: customers should be able to find all of one type of merchandise easily. Create “groupings” within categories, so all the merchandise that is one color, type, price or size is positioned together.
7. Group by Lifestyle
Display merchandise from several categories that all share the same theme. For example, in an office supply store, a display could reflect the workplace of a high-tech wizard, pairing together the right steel and glass desk with cutting-edge accessories centered around the computer, or a classic CEO suite, with old school green glass lamps on a heavy walnut desk, replete with blotter.
8. Use the Spotlight
Lighting attracts customers, much like moths to the flame! Dramatic lighting doesn’t have to be expensive: well-placed spotlights can draw attention to key pieces of merchandise. Make sure to use spotlights within your store as well as in the windows!
9. Change Your Displays Often!
A great display is a great display—the first time the customer sees it. But if the customer sees that same display next week, and the week after that? Suddenly the display is not so great. It’s boring, the same-old, same-old … and customers don’t come back to boring stores! Plan on changing your displays at least weekly.
10. Don’t Be Afraid of Color
Strong color can have strong results: plan your displays around a central color that pops and captures the customer’s attention. Try to have a different color each week: if you’ve used yellow as your central color this week, go with purple or blue next week—not red or orange!
11. Integrate Motion
Merchandise that moves will catch the eye. If you have anything that moves—from clocks to toys to music boxes, take one out and set it up! Let customers see it working! If your merchandise is more static, bring motion into the store: simply tying some ribbons to a small oscillating fan can add motion and interest—not to mention a cool breeze!
12. Remember the Rule of Three
Whenever you create a display, work in sets of three. If you’re arranging merchandise by height, have a tall, taller, tallest. If something is squat and round, have a fat, fatter, fastest. You can even group by price: the good, better, best display is well-established and works surprisingly well.
In Conclusion
Remember: virtual merchandising is both an art and a science. Approach it with an open mind. If something doesn’t work this time, CHANGE IT! Try something else. I recommend keeping a record of displays you’ve tried—with a digital camera this is quick and easy!—and noting how well merchandise sold with any given display. After a while, you might start to notice a pattern: particular types of display might work well with your customers. Obviously, use those types of displays more often.
And if something doesn’t work? Change it. Your merchandise is still good, your store is still great: the stores that thrive are the stores that adapt and change to changing customer behavior. Just keep track of results and try new things often!
Rick Segel is a seasoned retailer of 25 years and a marketing and retail expert for many associations. He has written for numerous publications and spoken at various events. He is the author of Retail Business Kit For Dummies as well as several other retail and business books.


