
By Amy Meadows
’Tis the season … for farmers’ markets, craft fairs, and opportunities to showcase artisan gifts outside your traditional brick-and-mortar store. While it might mean a pop-up space within a larger event area or as a canopied booth in a city park, this setup represents your brand and your business as fully as your “official” store.
It’s a great opportunity to sell and a way to introduce your store to those who previously didn’t know about it. Keep in mind that even some locals may not know, or may have forgotten, that your store exists. Given the amount of information overload we’re exposed to, we’re forced to filter out most of it, so it’s easy to become blind to signs we see every day. Think of the number of times you discovered a business, thinking that it must be new, only to find out it’s been in that location for decades. Opening a temporary booth can help break through that barrier to re-engage those who have become “sign blind.” Opening a pop-up store takes some preparation, but the potential for additional sales and new customers can compensate for the extra work.
Greeting Your Shoppers
Your signage, merchandising, and point-of-sale strategies remain critical to your success. But first, let’s talk about you. After all, you’re manning the fort (so to speak). Think about how and where you’d prefer to interact with customers. Some vendors prefer to sit near the front; others are more comfortable standing or sitting behind tables. To create a frictionless setting, identify your “comfort zones” for sharing product knowledge and ringing up sales.
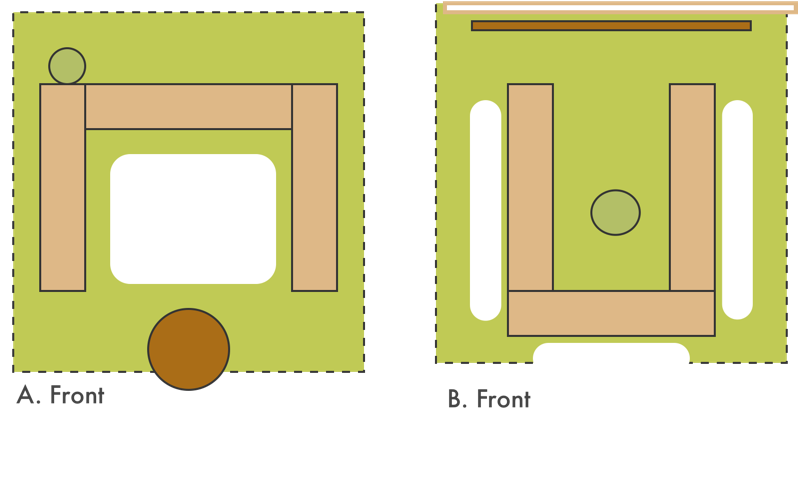
In the layouts shown, there are three tables at 6 feet each, configured within a 10-foot by 10-foot booth space. The white areas represent customer zones.
Layout A includes a feature table (where permissible) that spills slightly into the aisle and, therefore, the customer’s sightline as they approach. This is a “teaser” to include specially selected products, signage, and perhaps fresh flowers, or other decorative details.
Typically, the vendor’s seating is tucked behind the tables, and the customers can move freely in the open area, as they might in a traditional store setting. Tables that are fully draped provide hidden storage for bags and packaging as well as additional inventory.
Tables in Layout B are arranged in a way that invites shoppers to move around the perimeter. I’ve added shelf units along the rear wall as an option. The basic square footage for displaying product is the same — three tables each 6 feet long. You can increase the visual interest and efficiency of that surface area with the addition of risers, easels, or tabletop fixtures.
Branding and Signage
Once you’ve selected your booth configuration, it’s important to identify traffic patterns so you can choose the optimal signage placement.

Good
Think twice about using tablecloths with your logo as your primary business identifier. Once shoppers have stepped into the booth or up to your table, those names and logos disappear behind customer traffic.
Better
Consider additional signage overhead at the back of the booth or behind the tables.
Best
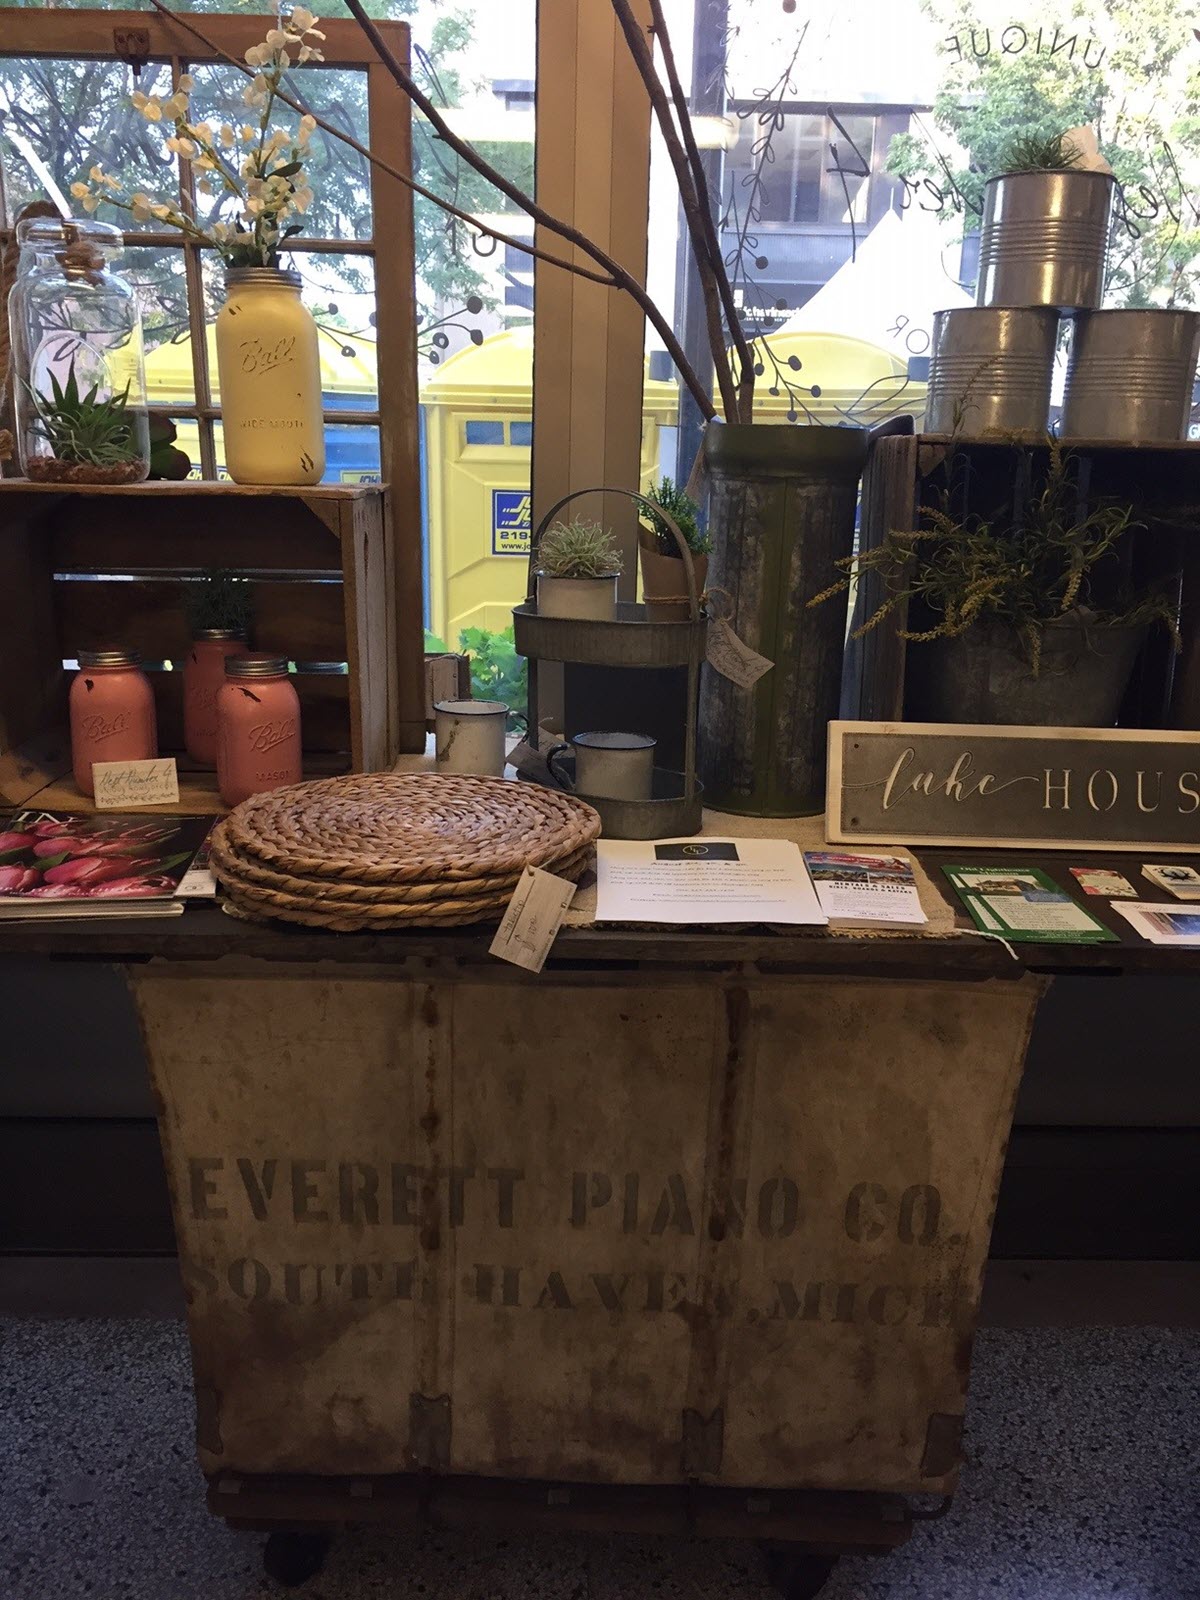
Ideally, your business name will be silk-screened on your canopy top or attached to the back wall of your booth. In a sea of banners, signs, and chalkboards, let your signage grab attention from a distance and draw the customer to you. Where possible, create your sign from materials or methods that are special to your business. Think baking sheets, cooling racks, wooden planks, quilted panels, leaded glass — you name it. Because your product is special, your sign should be, too!
- Avoid
Grommeted banners that lash to canopy framework. They either flap wildly or struggle to break loose. As a general rule, this format is best suited for low-price, low-quality merchandise in bulk — not special gifts, local artists, and independent retailer brands. - Pop-up banners that require sandbags to remain upright, although I’ve seen some cleverly wrapped/branded sandbags.
- A-frame chalkboard sidewalk signs, as they’re easily knocked over or become trip hazards.
Merchandising
Setting up a smaller popup or booth is a snap because it’s so much smaller, right? Not really! If anything, it’s a bit more complicated. You’re accommodating customer traffic, signage, merchandising, inventory storage, and point-of-sale with far less room. Add the extra effort of packing and unpacking, setting it up, and breaking it down. You’ll want to be intentional with the items selected. Must-haves include:
- Collapsible tables, including tabletops on sawhorses
- Lightweight, reusable/recyclable materials, such as picture frames, trays, and small logs
- Stackable nesting risers or crates for height, and later for packing up
- Folding screens
- Waterproof storage tubs for packaging and backstock
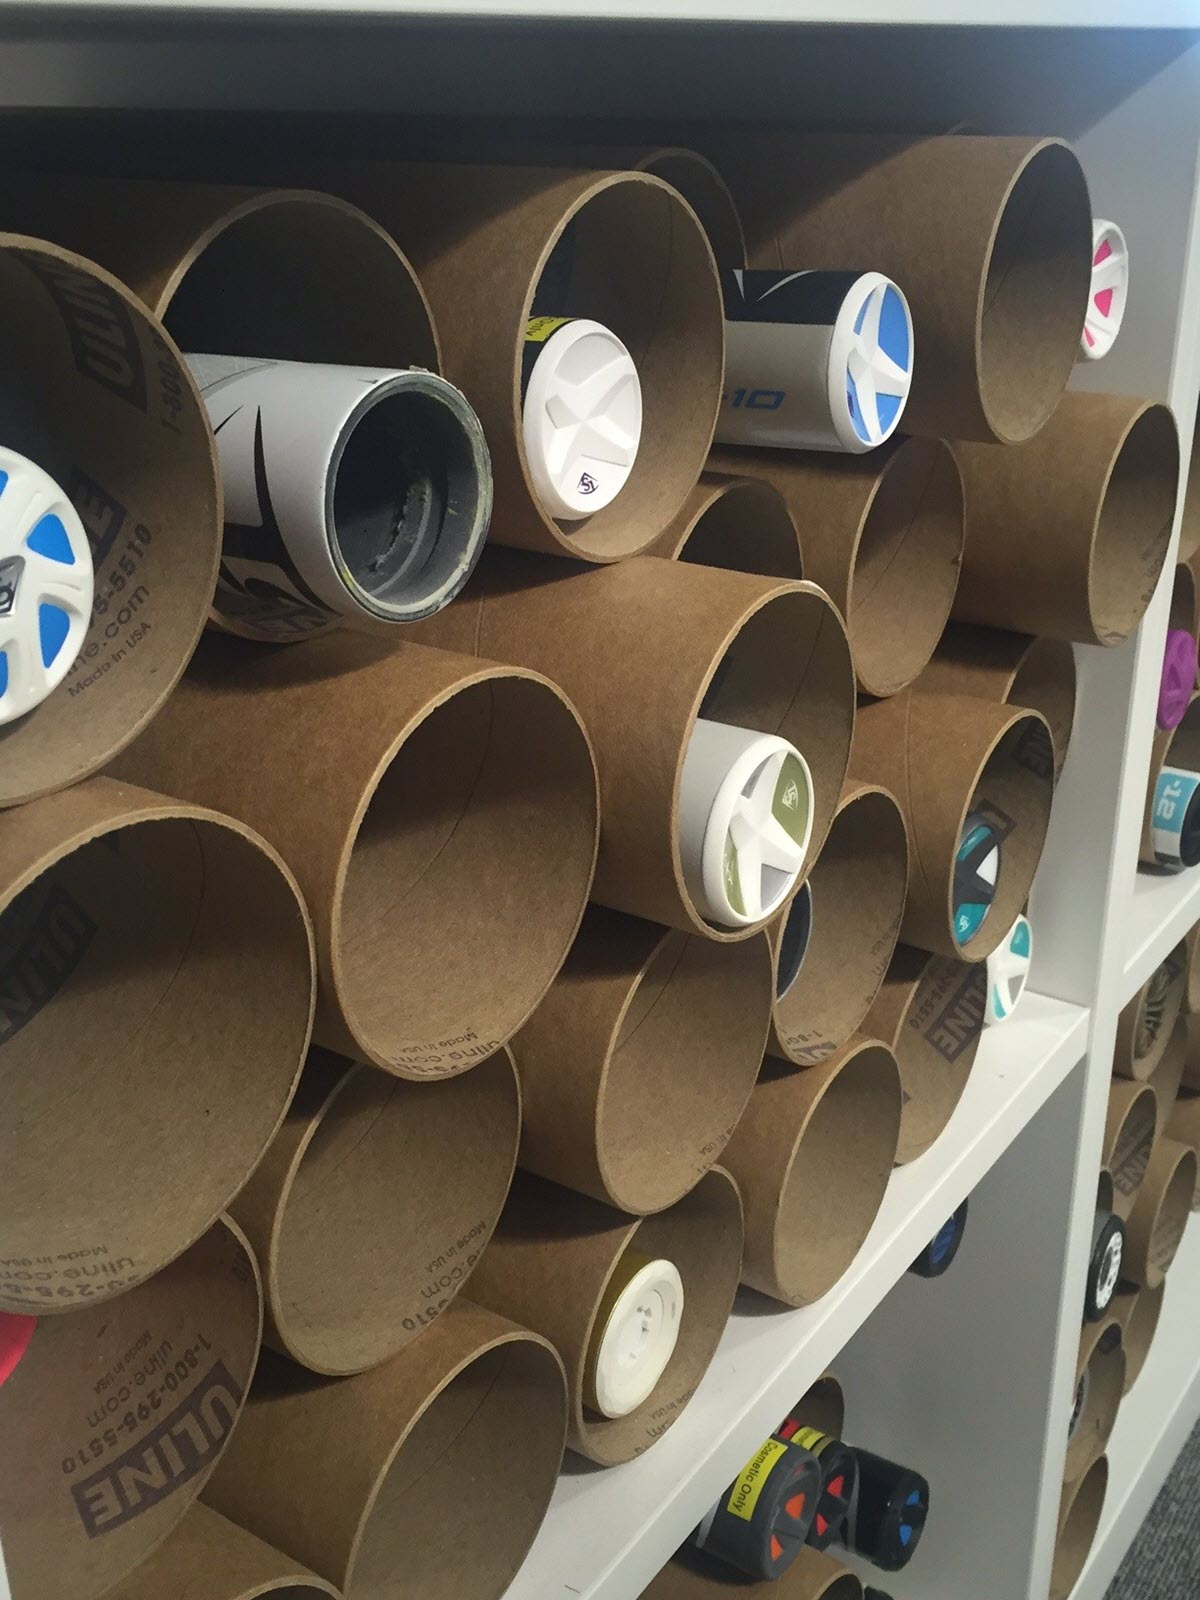
Tablecloth tip: Roll, don’t fold, your tablecloths. Wrinkled table covers don’t make a good first impression. Long cardboard tubes are handy for keeping your table covers rolled neatly for travel and storage. In a pinch, spritz them with water and smooth them out as best you can. Overlays or table runners add an extra layer of visual interest and help hide creases or stains.
Display Strategies
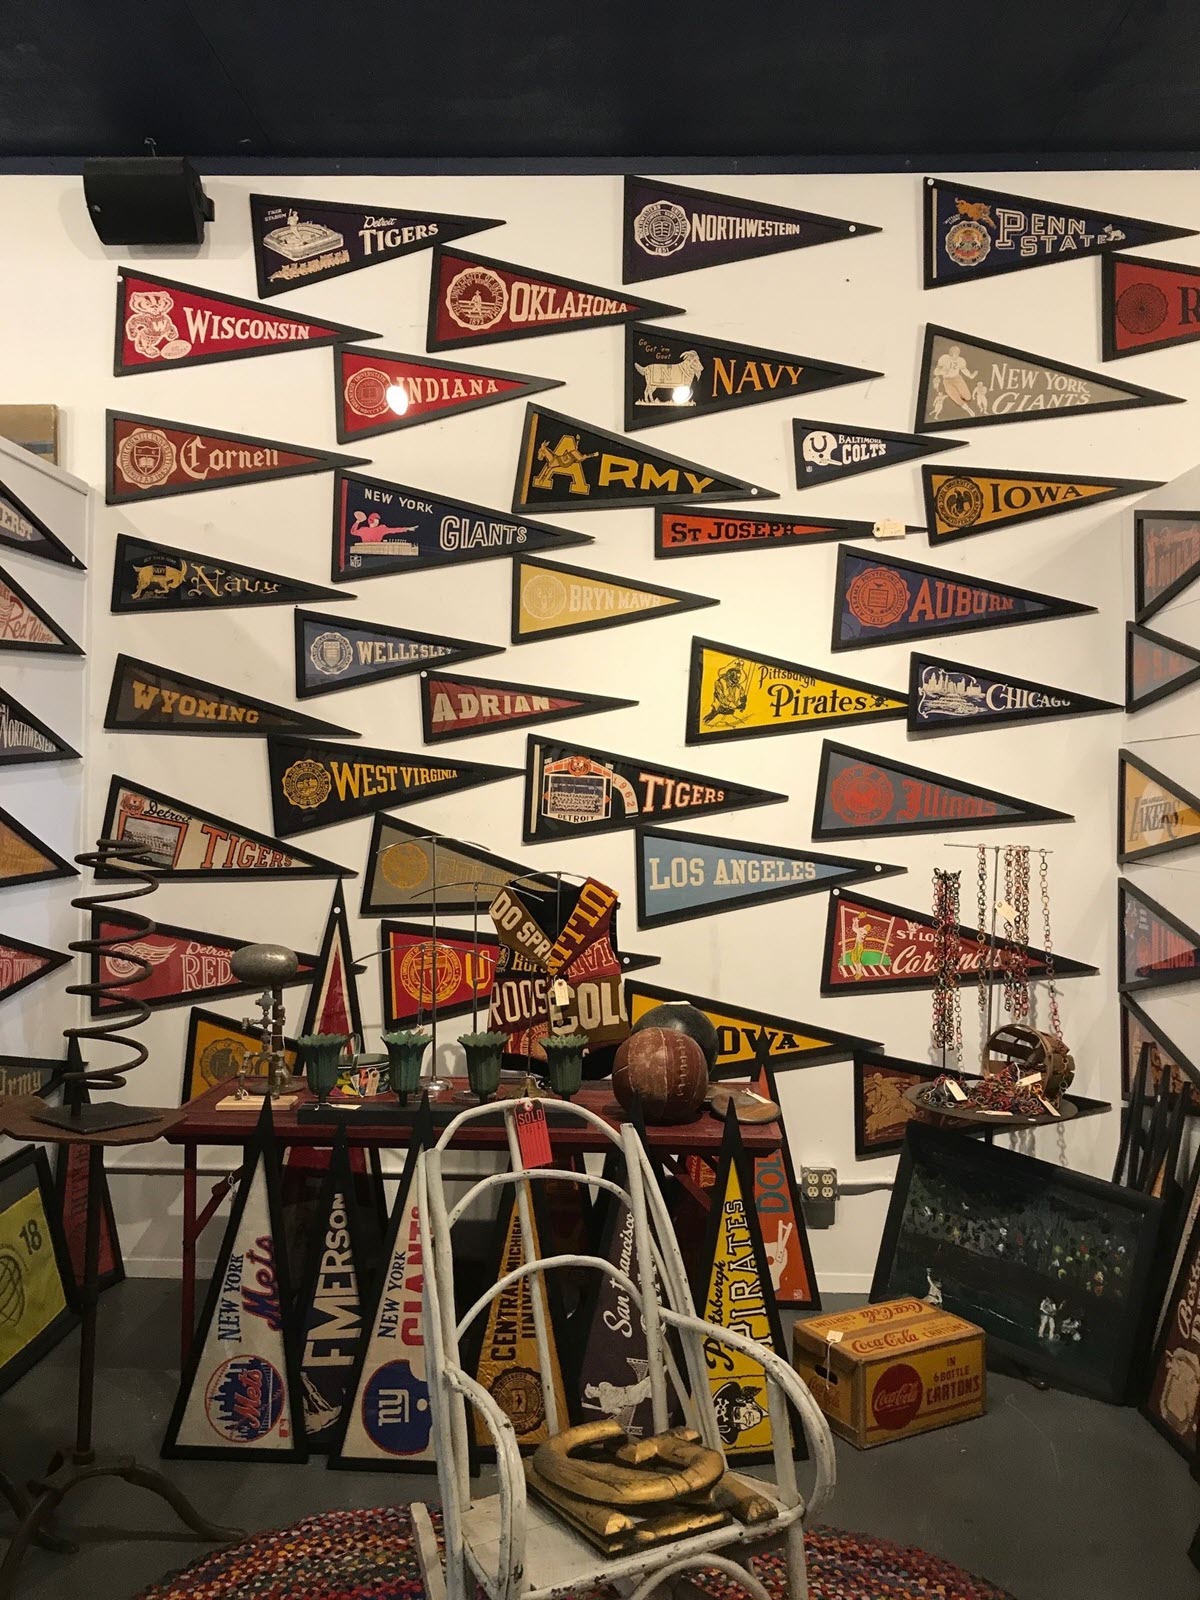
- Put your best foot — or rather, your best merchandise — forward. Pop-up shops, artisan markets, and festivals are for showing the items that set you apart from the competition. Identify what you do better than anyone else and highlight those features in this smaller, event-based setting.
- Create color stories and collections.
- Add framed stories and merchandise details to product groupings. This is the perfect opportunity to introduce your audience to artisans and unique aspects of your business.
- Edit, edit, edit. Be prepared to restock throughout the day.
- Keep your cards, flyers, or other promotional material handy. Be sure to drop a business card in shopping bags. With so many electronic transactions and the absence of physical receipts, it’s easy to lose track of the artist or shop from whom an item was purchased. Make it easier for return visits and additional purchases!
Have an interesting display to share? Or a question about visual merchandising strategies for your business or your district? Visit www.windowsmatter.com for more information.
